Brand your booking form
Set your logo, brand colour, page background and words in Settings, under Branding, and choose where new requests are emailed.
Steps
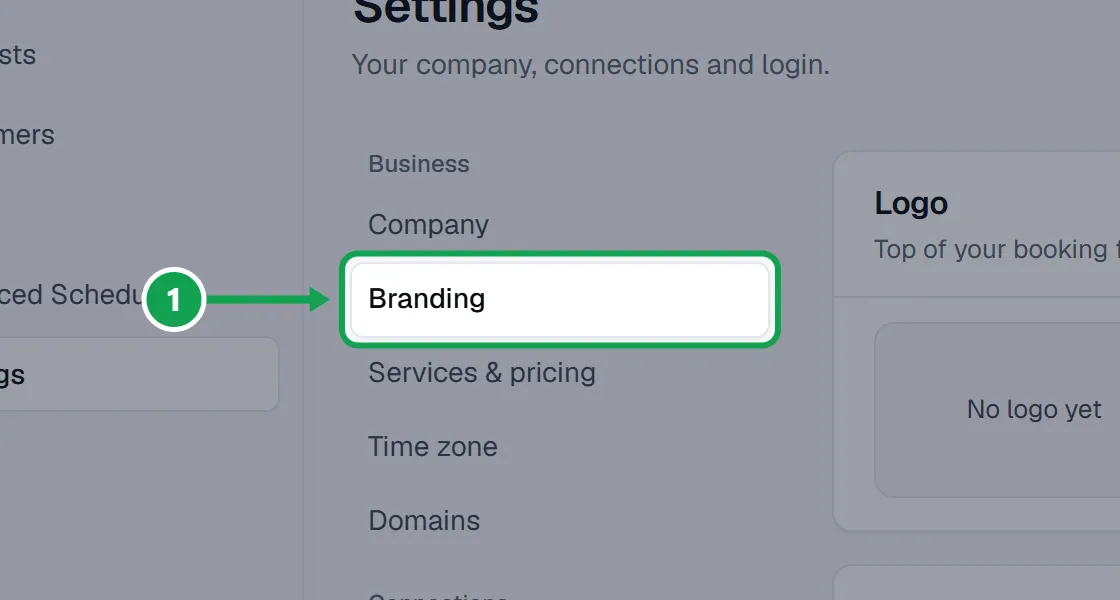
Step 1. Open Settings and choose Branding. The Branding & domain link at the bottom of the form builder opens the same page.
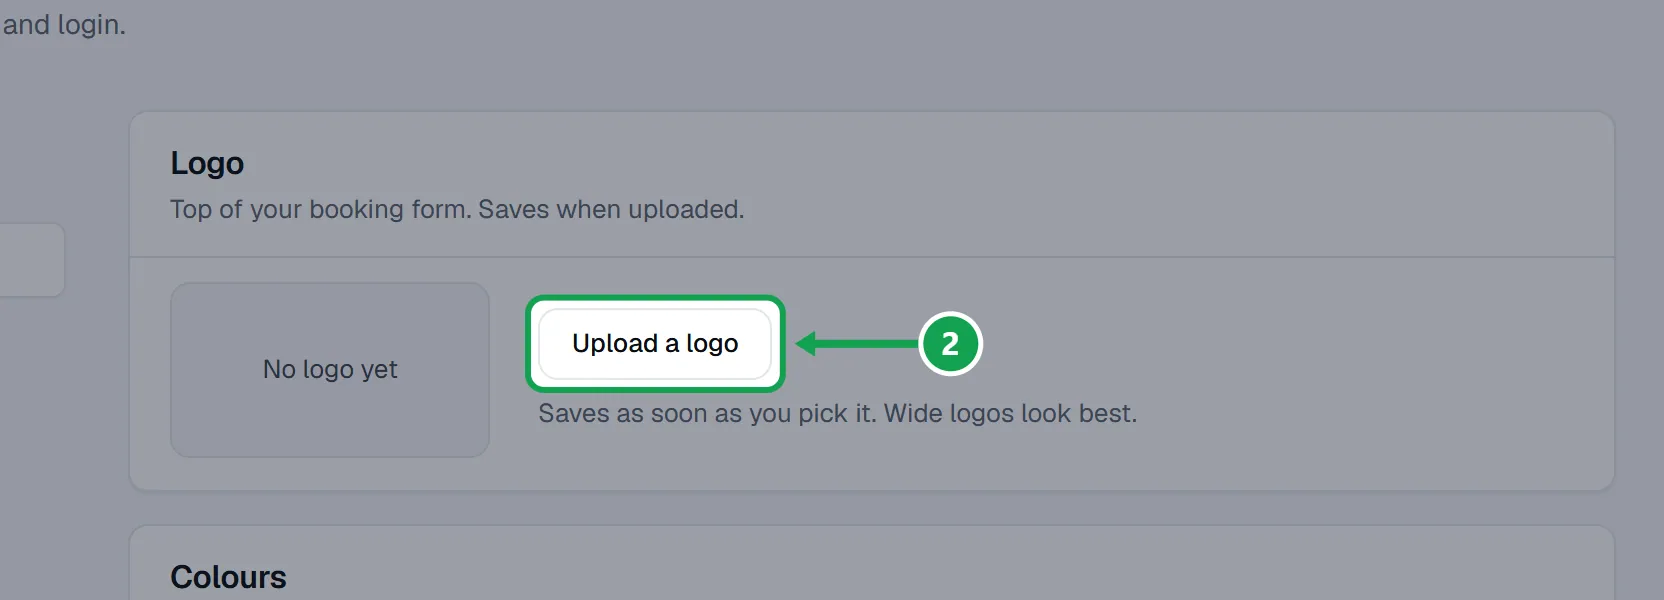
Step 2. Under Logo, press Upload a logo and pick the file. It saves as soon as it uploads.
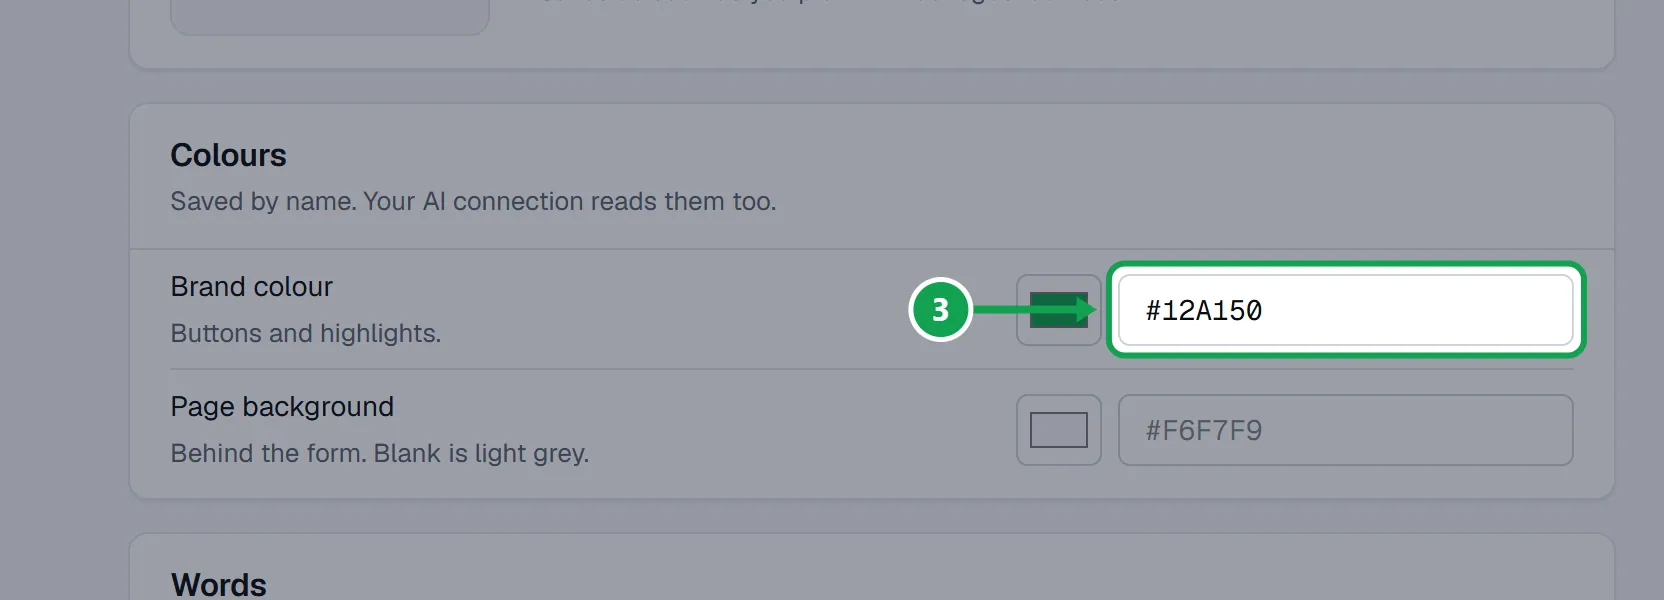
Step 3. Under Colours, set your Brand colour for buttons and highlights, and a Page background if you want one. Pick from the swatch, or type a hex code like #12A150.
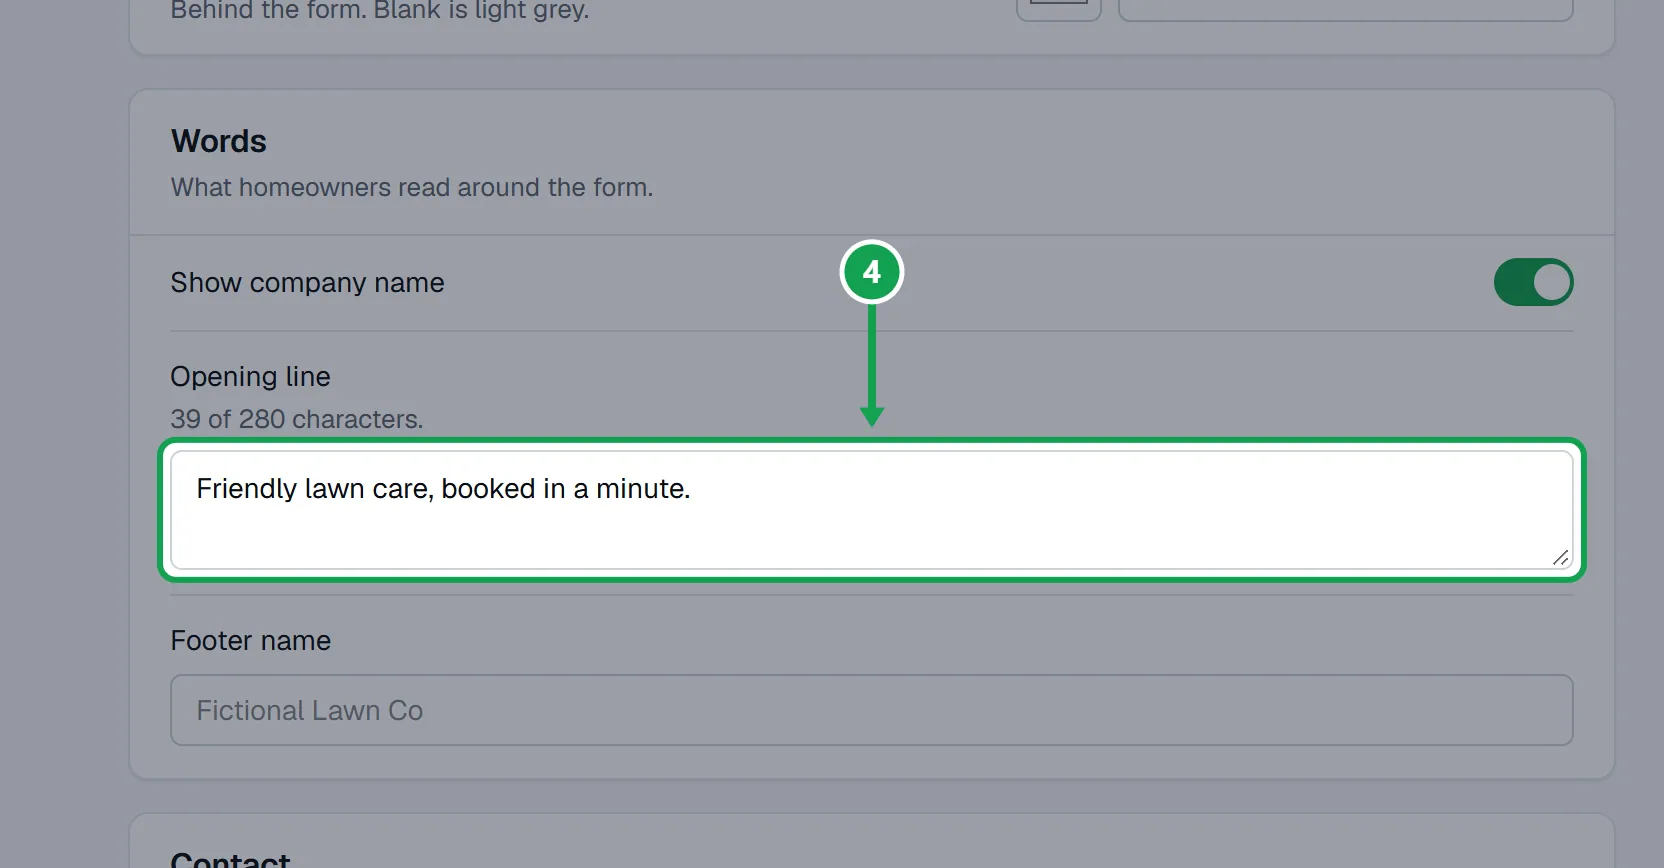
Step 4. Under Words, write an Opening line for the top of the form and a Footer name for the bottom. Turn off Show company name to hide it.
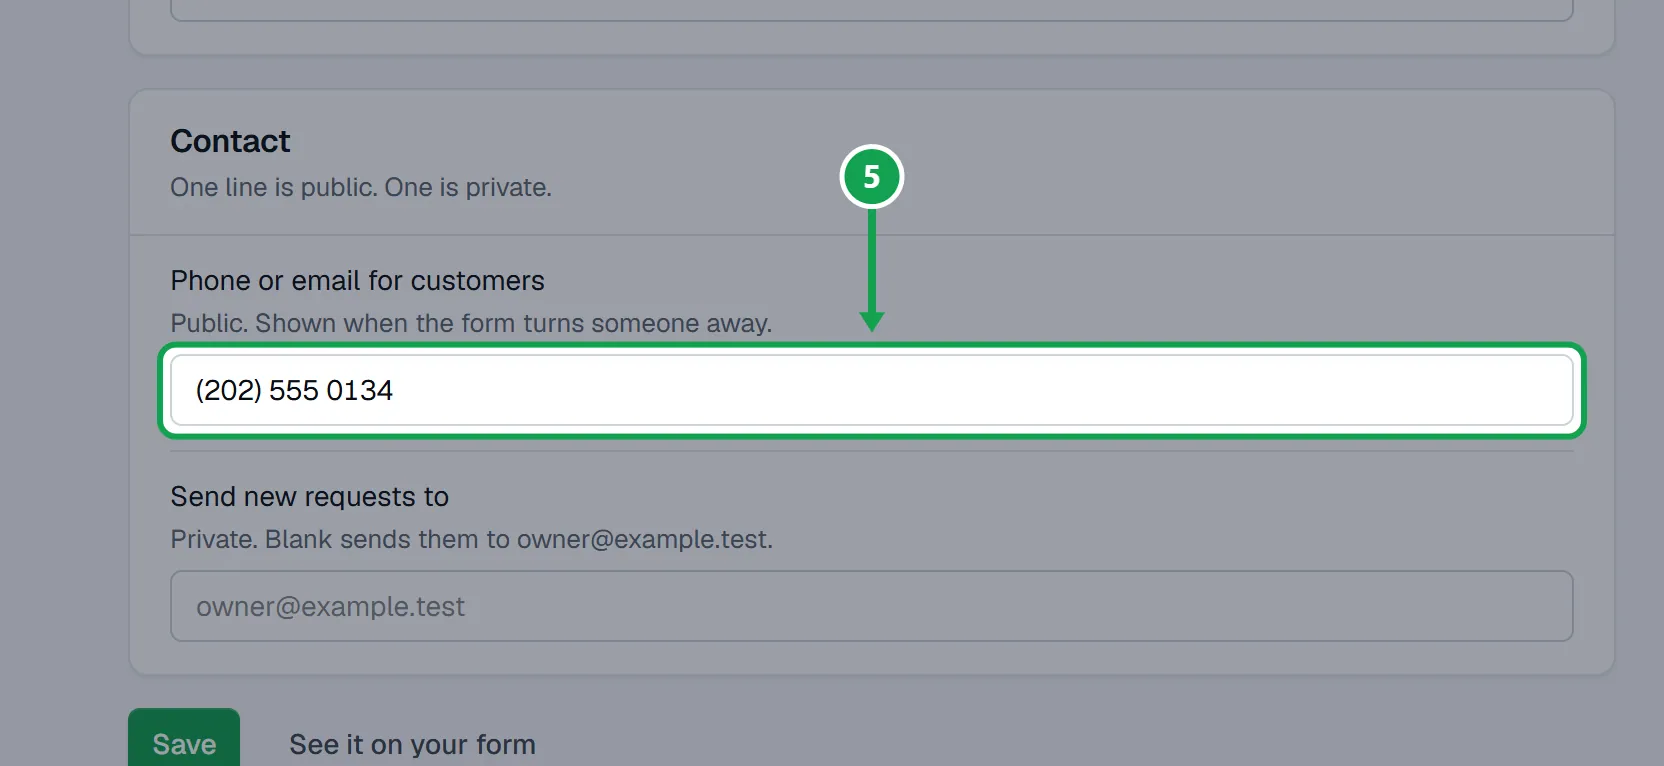
Step 5. Under Contact, type the phone or email homeowners see in Phone or email for customers. It shows when the form has to turn someone away.
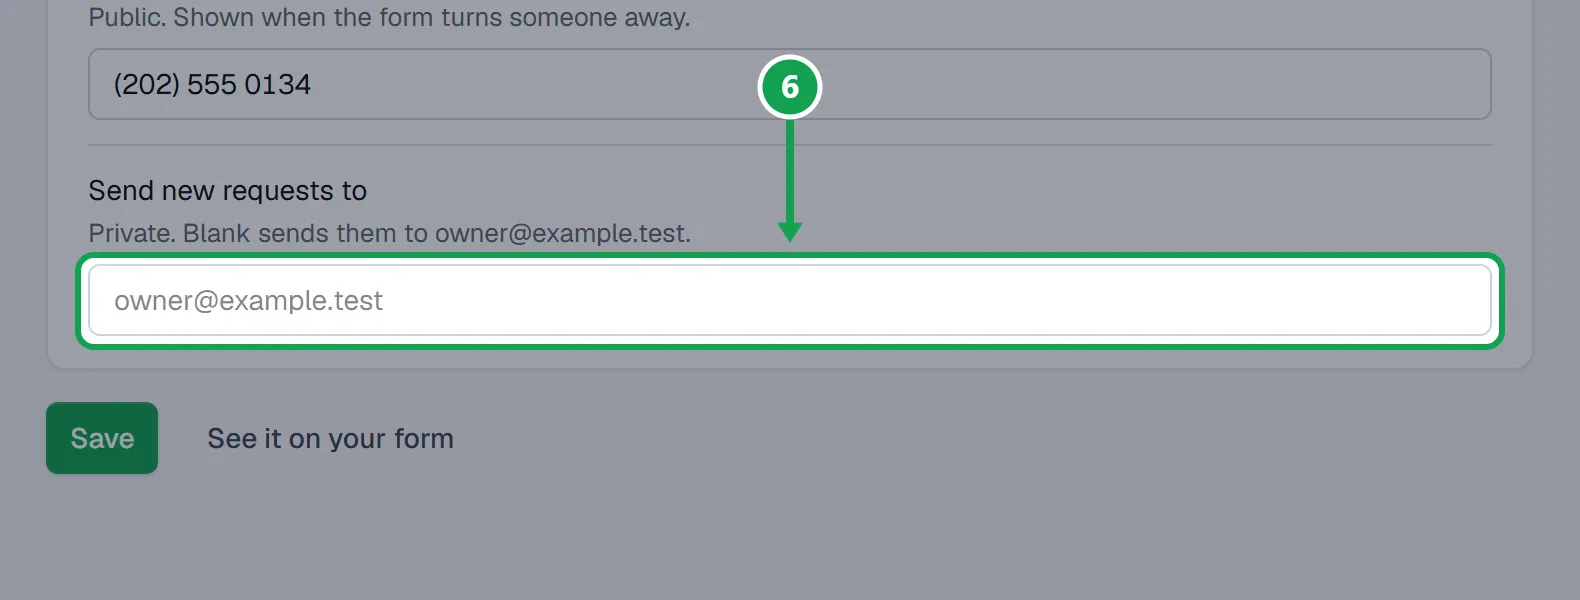
Step 6. Type the email that should get new requests in Send new requests to. Blank sends them to the email you sign in with.
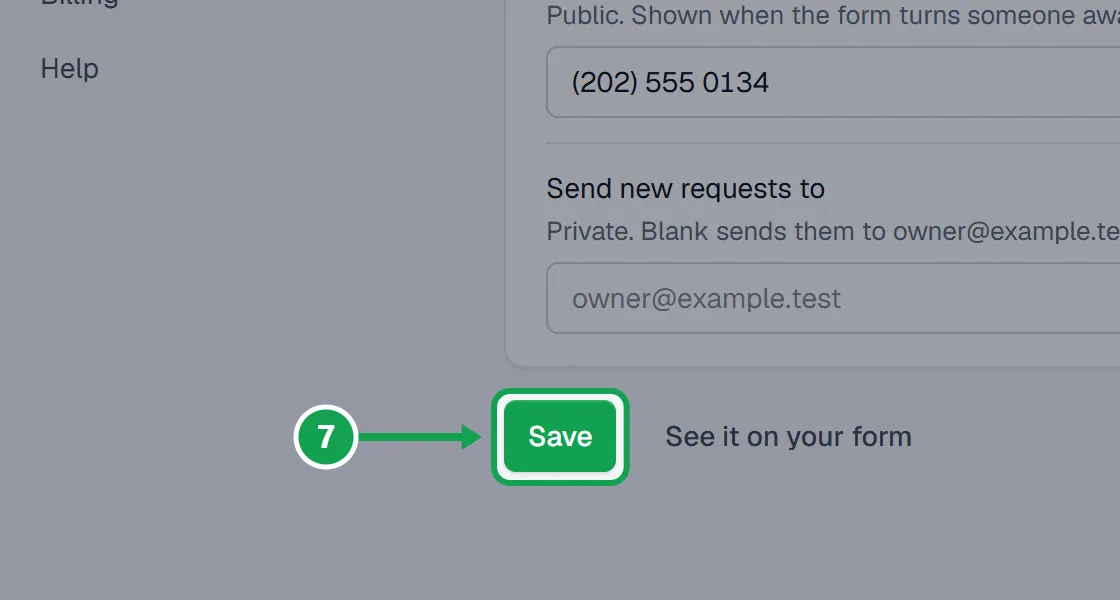
Step 7. Press Save. Press See it on your form to check the new look.
Go back to your Homeworks logo
Once you upload a logo, a tick box appears under it.
Step 1. Tick Use the logo from Homeworks. If your Homeworks profile has no logo, it reads Remove my logo.
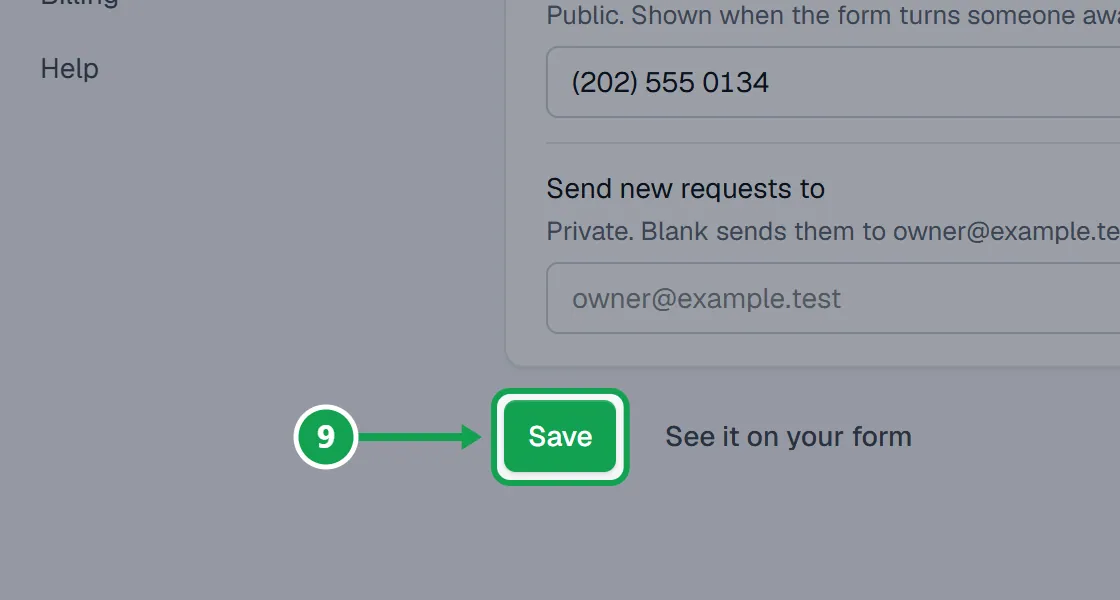
Step 2. Press Save. Your uploaded logo is dropped.
Let Claude use your brand
The colours are saved by name, so an AI connection can read them too.
Step 1. Ask Claude something like Use my Seasonly brand colours and logo. It reads your Brand colour and Page background as hex codes, and your logo's web address.
Step 2. To change them from the chat, ask Claude. It shows the before and after, and the change waits for you on the Approvals page when your form is live.
If this, then that
- If the colour box turns red and says A hash and six characters
- Type the colour as # and six letters or numbers, like #12A150, or pick it from the swatch.
- If Send new requests to says That does not look like an email address
- Check the address for a typo, or leave it blank to use your sign-in email.
- If you opened the old Form branding link
- It now opens Settings, under Branding. Nothing moved except the page.
- If your logo does not change on the form
- Uploads save by themselves. Press Refresh on the form preview, and check Use the logo from Homeworks is not ticked before you press Save.
- If Claude says it cannot upload your logo
- That is right: an assistant cannot upload files. Upload it here with Upload a logo.
- If you see Only the owner can change these
- You are signed in as staff. Ask the owner to change the branding.
What it looks like
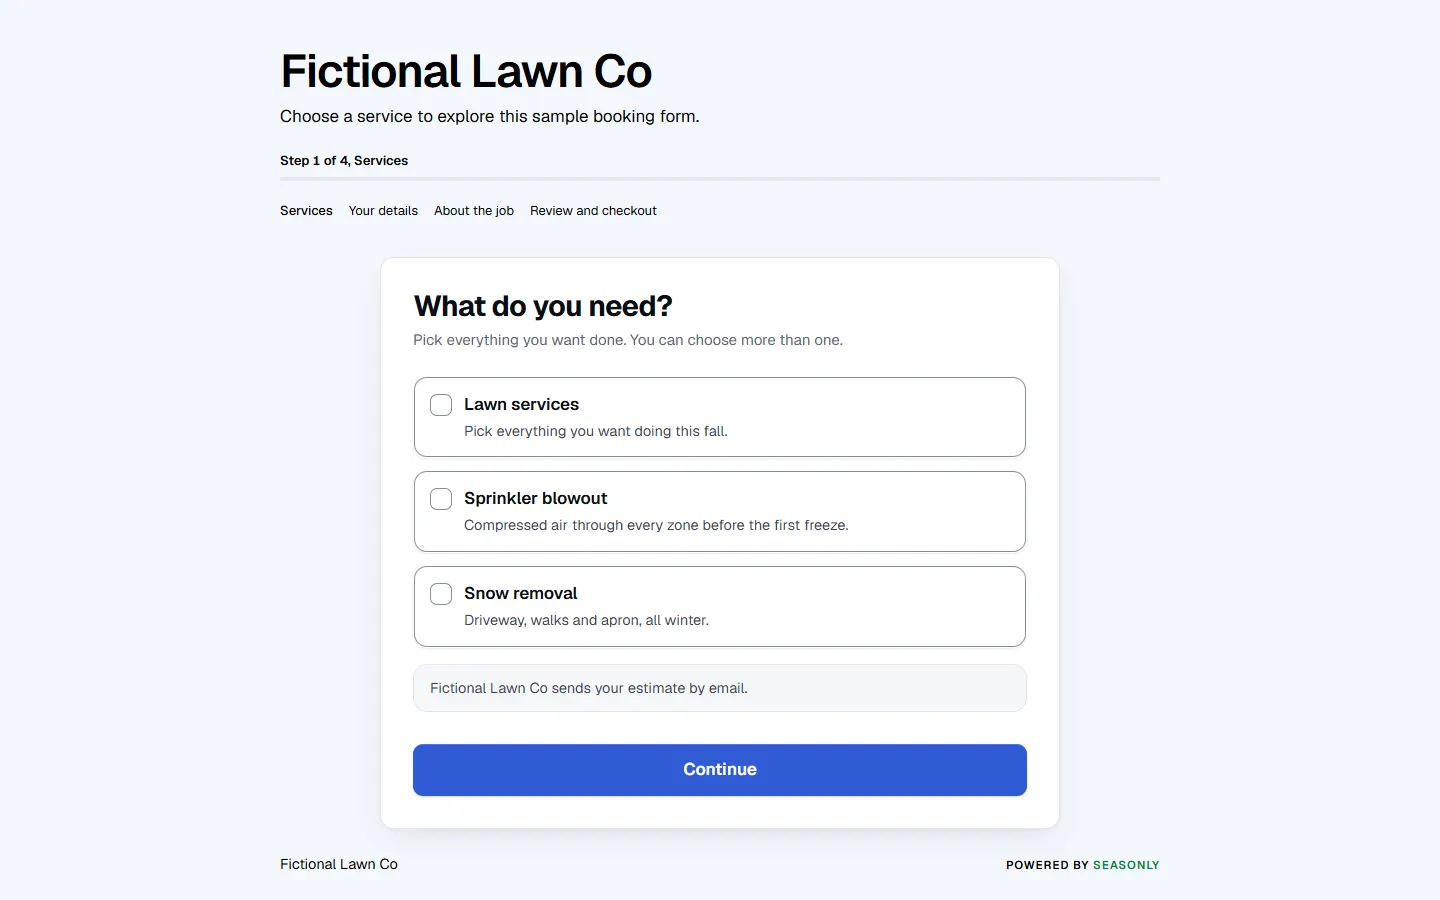
Good to know
- Removing "Powered by Seasonly" is part of Premium. On Free the footer stays, on your website too.
- Send new requests to is private. The phone or email for customers is public.
- With no uploaded logo, the form uses the logo from your Homeworks profile, or your company name when there is none.
- Your company name itself is changed in Settings, under Company. Your form's web address is on Form, under Branding & domain, and your own domain in Settings, under Domains.
- If the form is live, customers see a saved change straight away.
- Only the owner can change branding. Staff see it read-only.