Connect your own web address
Put a form on book.yourcompany.com: type the address, add two records at your provider, and Seasonly checks until it is live.
Steps
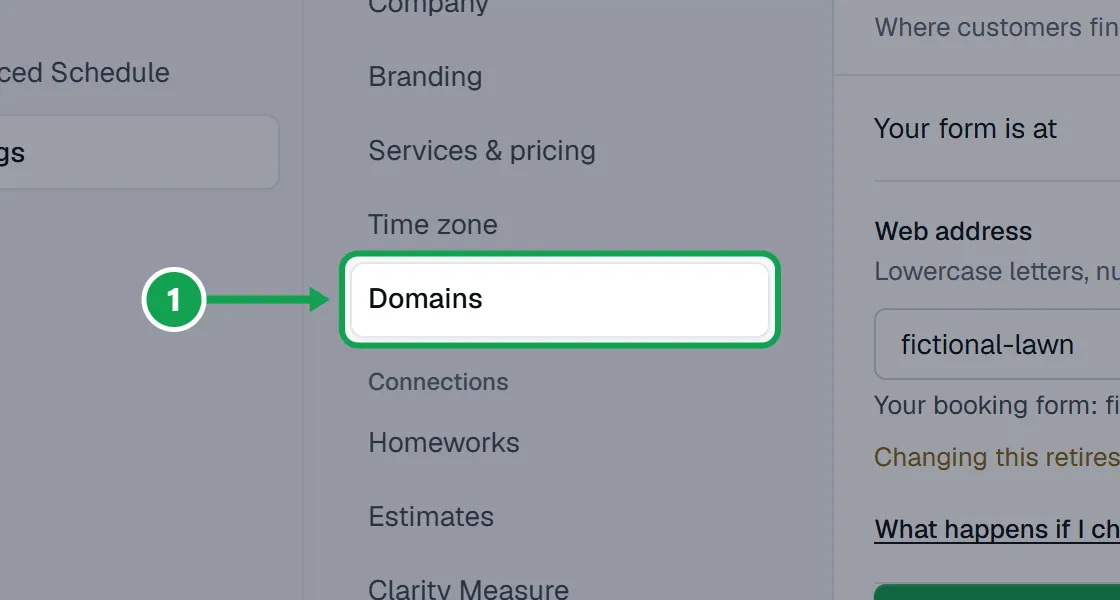
Step 1. Open Settings and choose Domains.
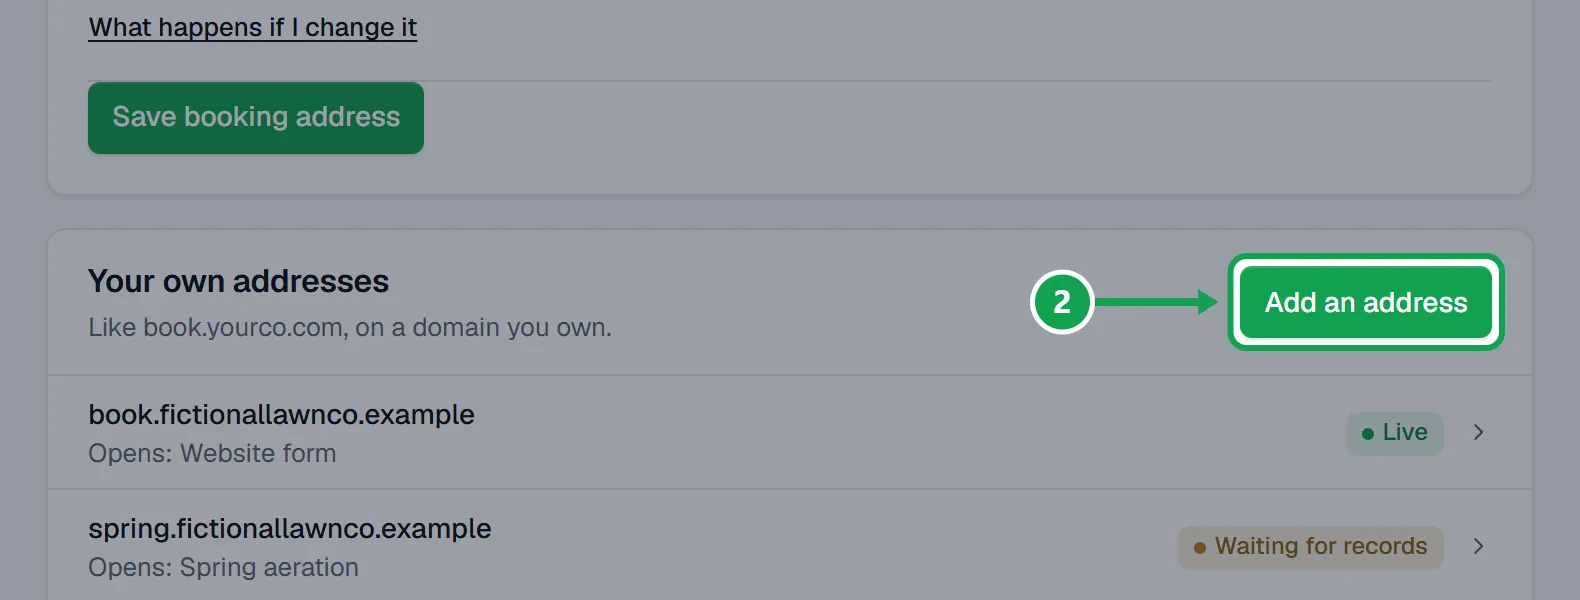
Step 2. Press Add an address.
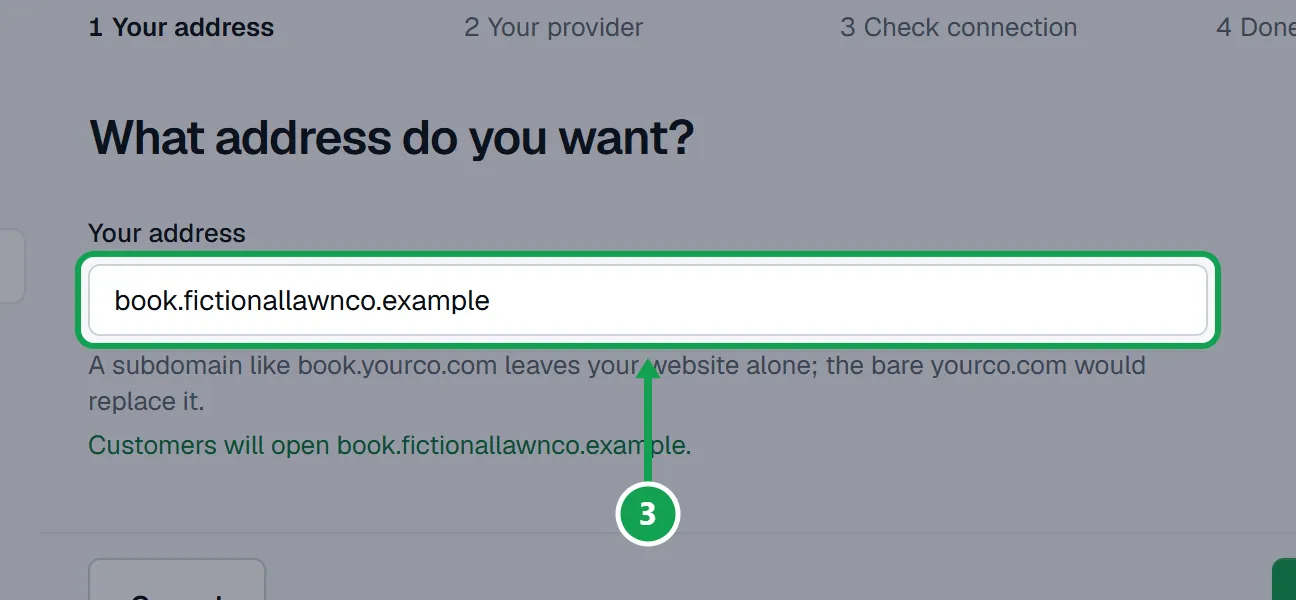
Step 3. In Your address, type the address you want, like book.yourcompany.com. A subdomain like that leaves your website alone.
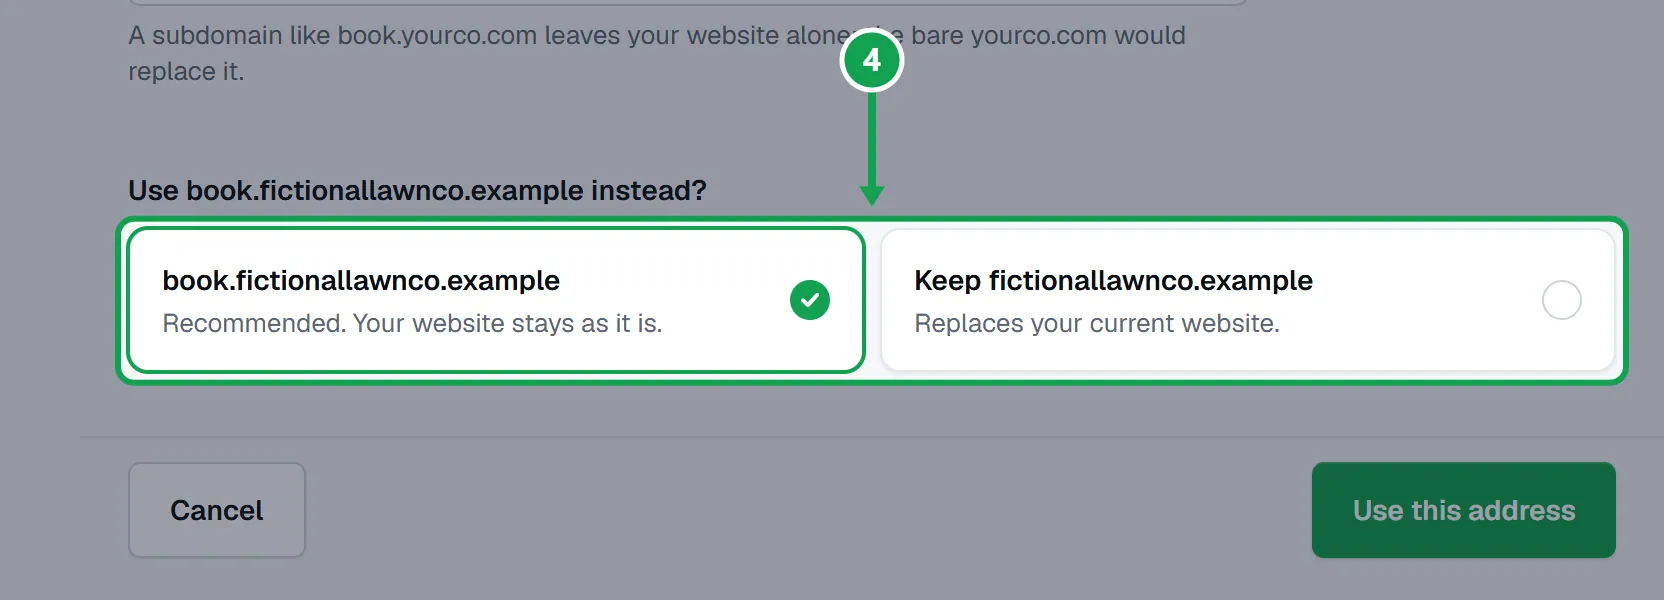
Step 4. If you typed a bare domain like yourcompany.com, Seasonly offers book.yourcompany.com instead. Keep it unless you mean to replace your website.
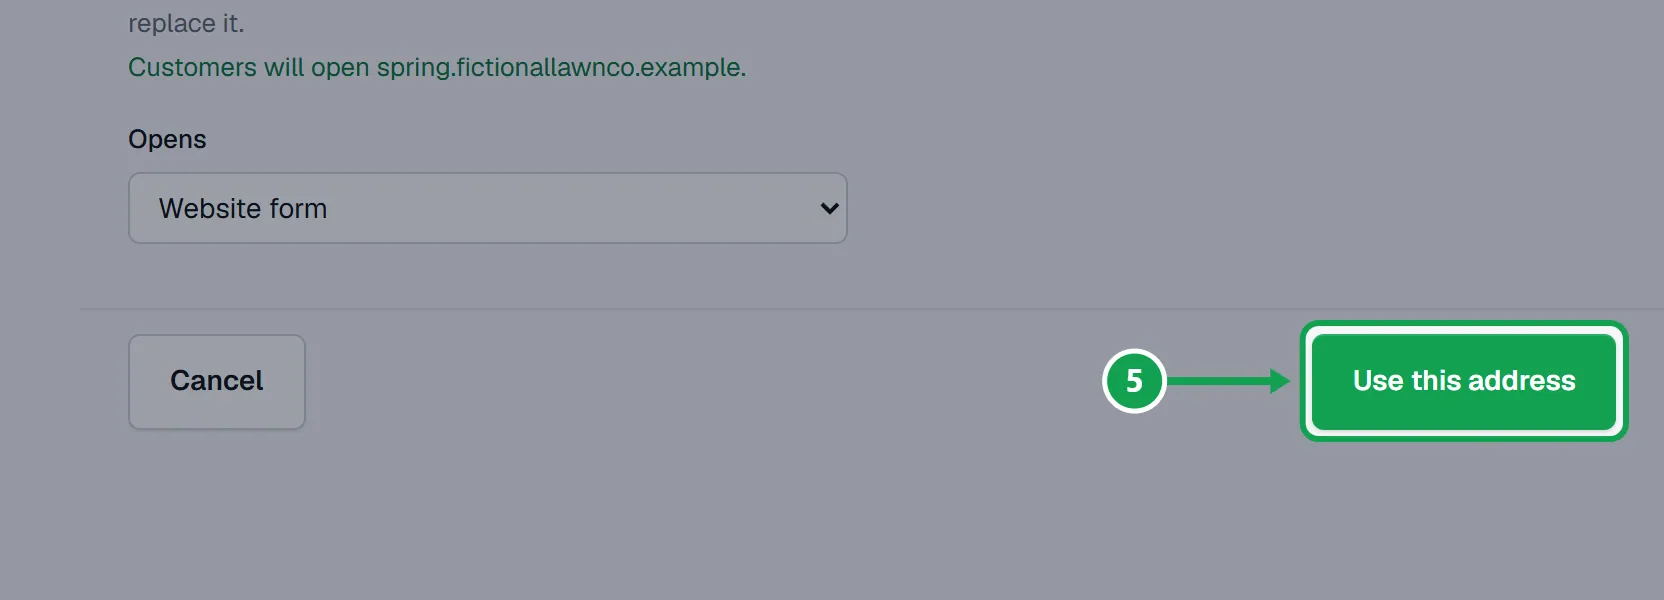
Step 5. With more than one form, pick the one it opens in Opens. Then press Use this address.
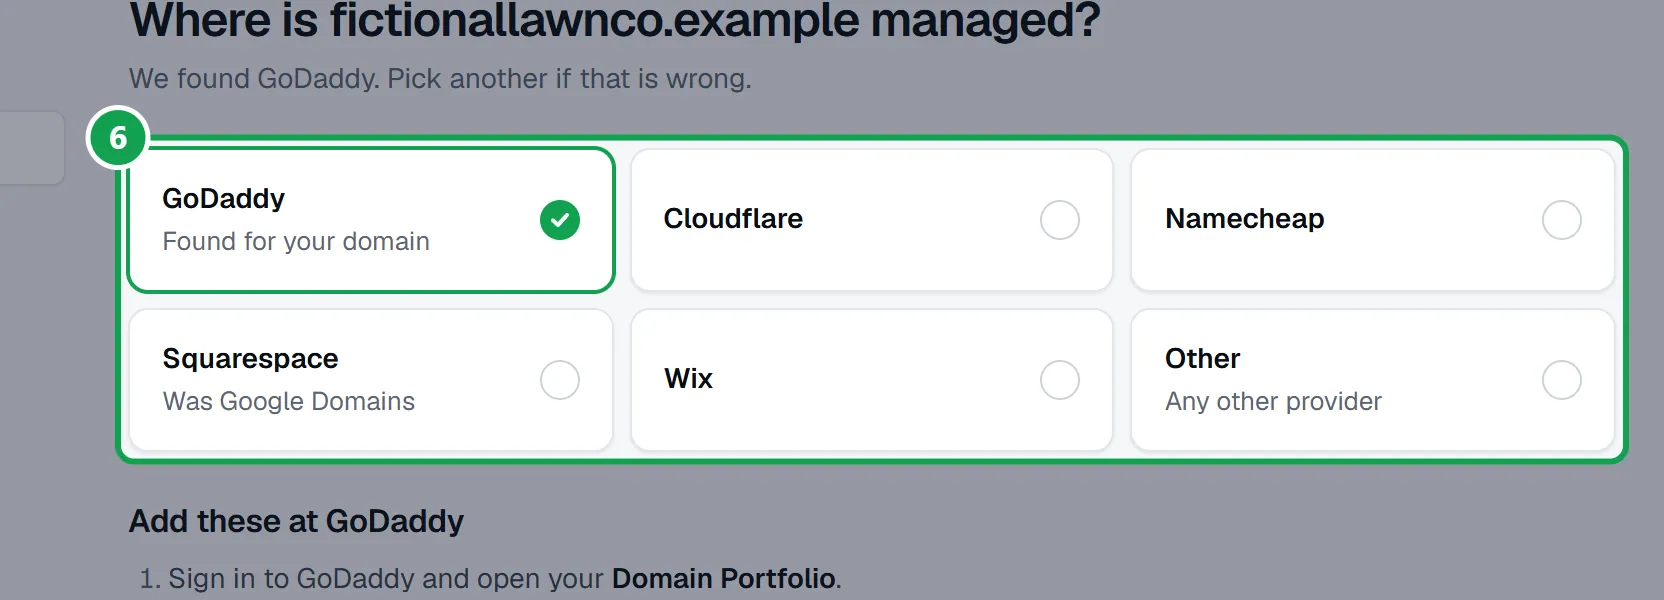
Step 6. Seasonly picks your DNS provider from your domain. Press another card if it picked the wrong one.
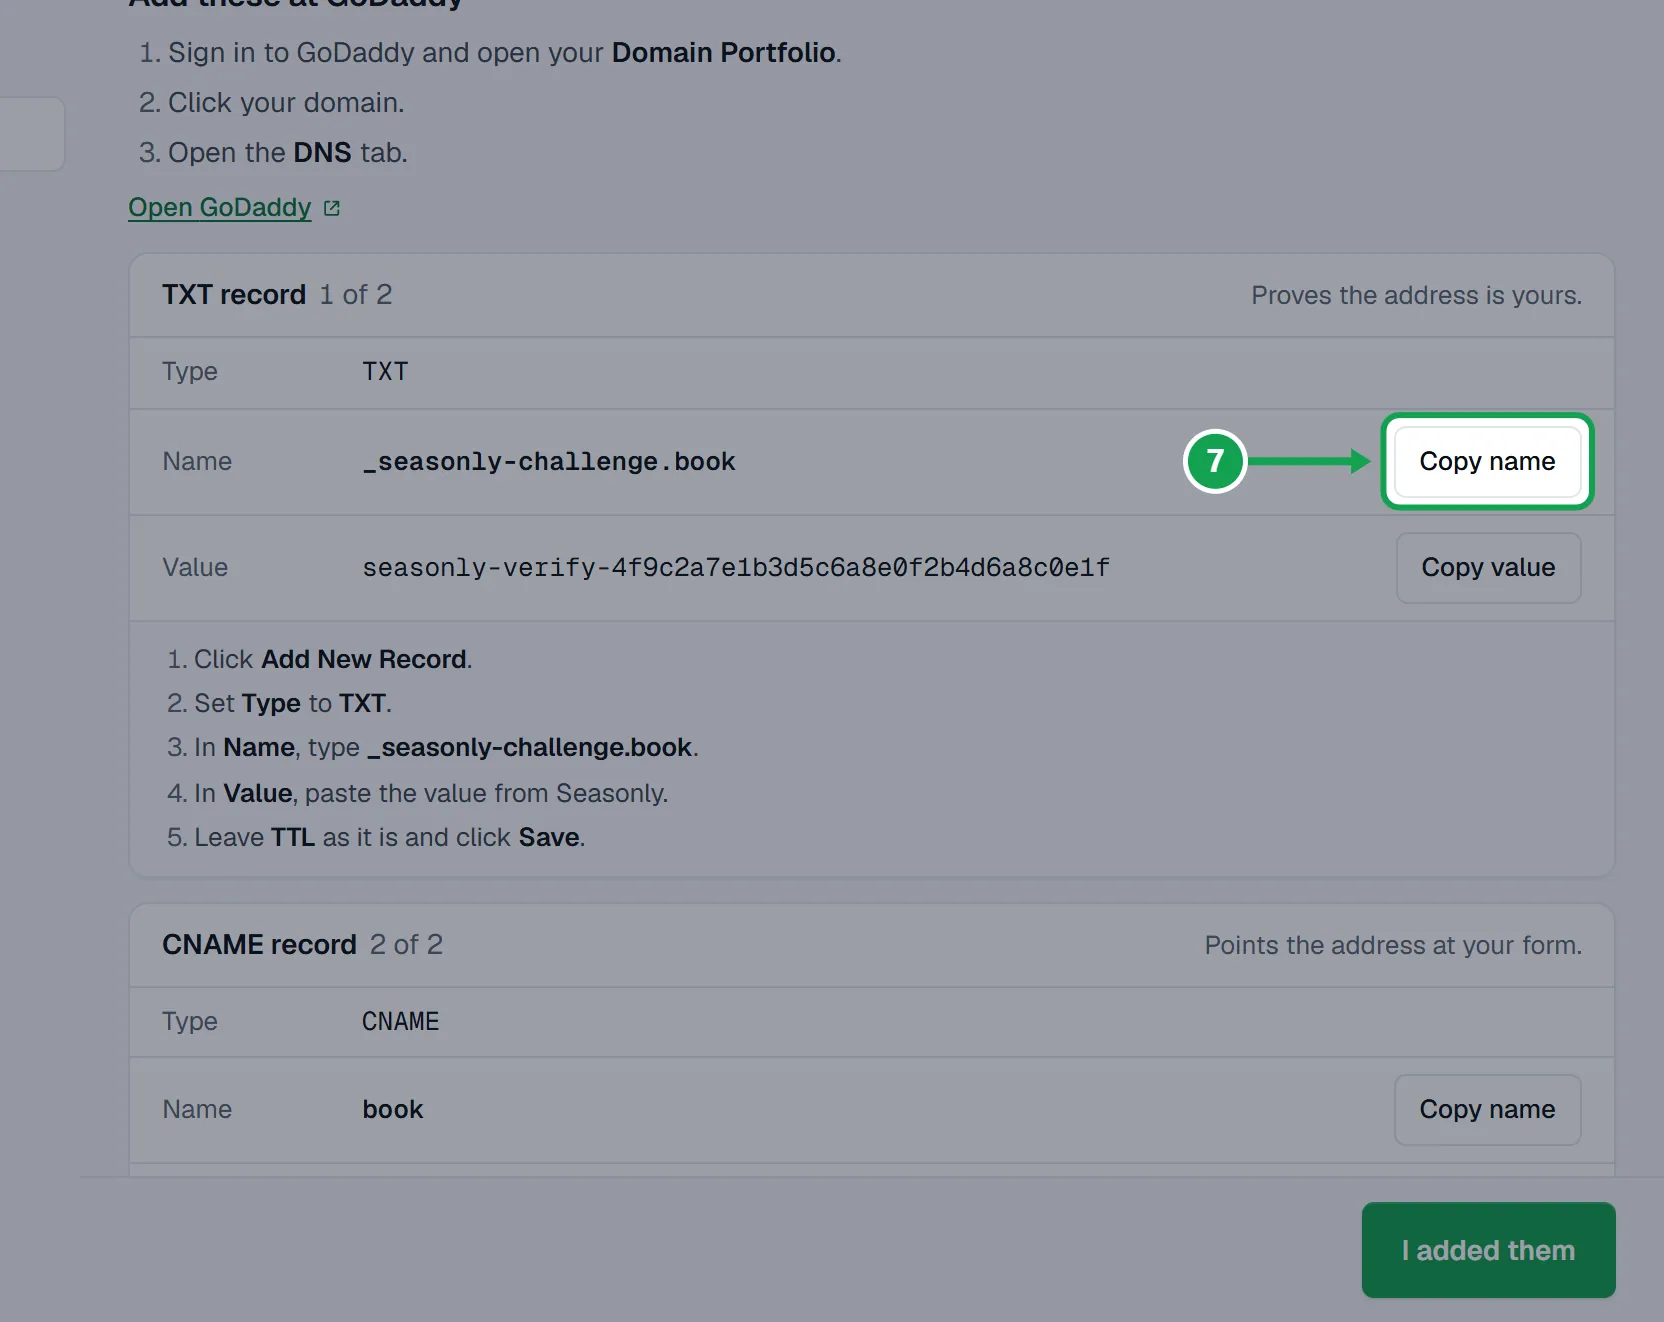
Step 7. Follow your provider's clicks. For each record press Copy name and Copy value and paste them as they are. The name is short, like book, never the whole address.
Step 8. Press I added them.
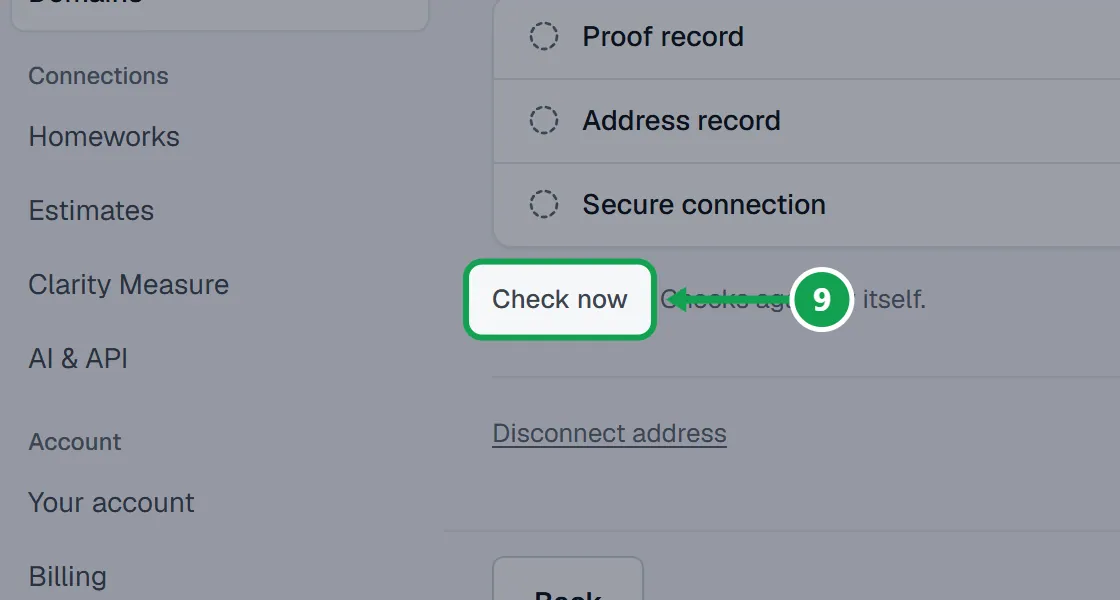
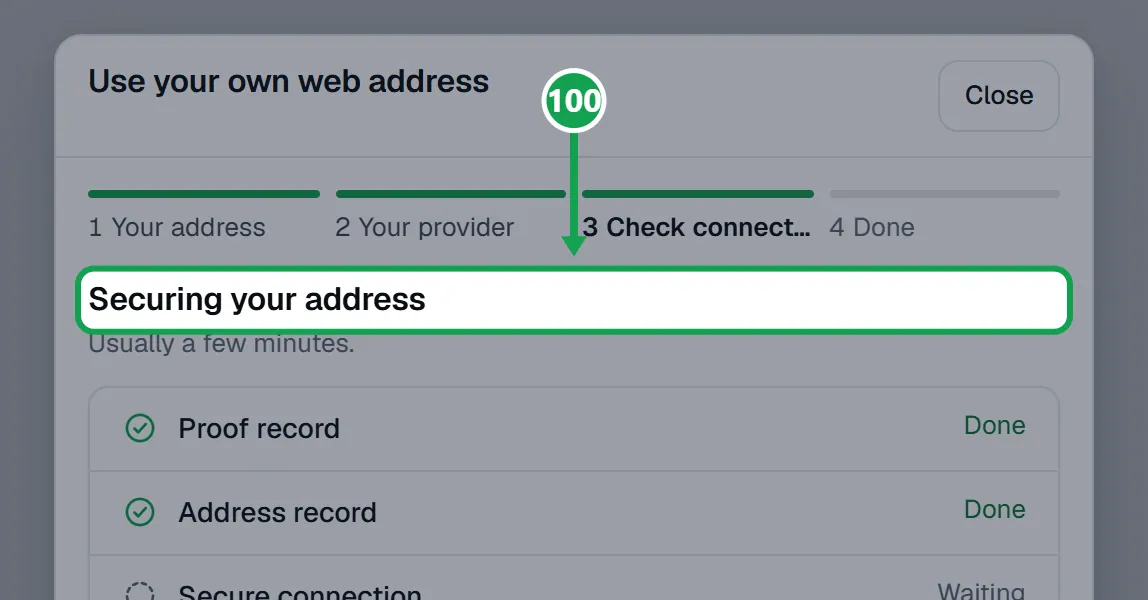
Step 9. Seasonly checks by itself every 20 seconds while the page is open, and the list ticks off as each part is found. Press Check now to check at once. You can leave; it keeps checking and tells you when it is live.
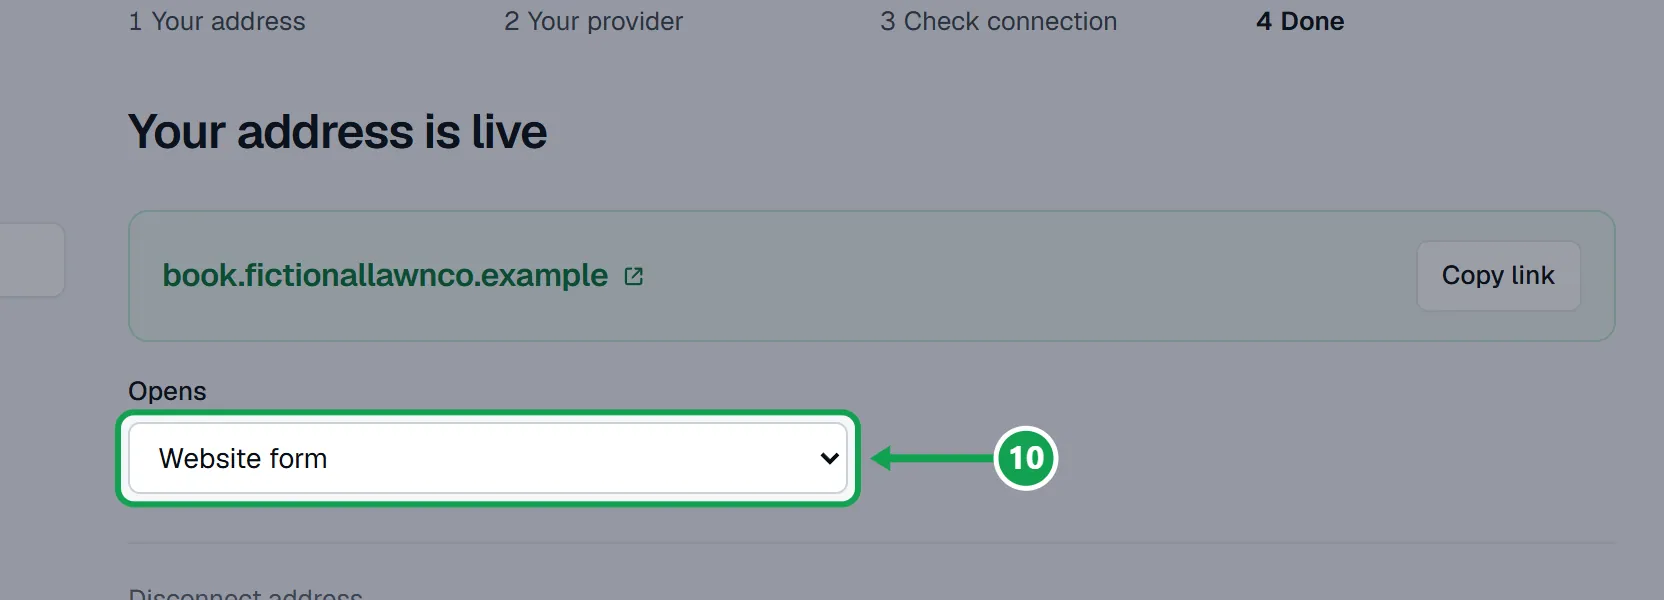
Step 10. When it says Your address is live, press Continue. Your link is shown with Copy link, and Opens changes which form it opens.
GoDaddy
GoDaddy adds your domain to the name for you.
Step 1. Sign in to GoDaddy and open your Domain Portfolio.
Step 2. Click your domain.
Step 3. Open the DNS tab.
Step 4. TXT record (name _seasonly-challenge.book): Click Add New Record.
Step 5. Set Type to TXT.
Step 6. In Name, type _seasonly-challenge.book.
Step 7. In Value, paste the value from Seasonly.
Step 8. Leave TTL as it is and click Save.
Step 9. CNAME record (name book): If a record named book is already there, edit it instead of adding one.
Step 10. Click Add New Record.
Step 11. Set Type to CNAME.
Step 12. In Name, type book.
Step 13. In Value, paste the value from Seasonly.
Step 14. Leave TTL as it is and click Save.
Step 15. Bare domain: For the bare domain, use Name @ and edit the A record GoDaddy already made.
Cloudflare
Set Proxy status to DNS only (grey cloud) on the address record. After you save, Cloudflare shows the full name. That is normal.
Step 1. Sign in to Cloudflare.
Step 2. Under Websites, click your domain.
Step 3. Open DNS, then Records.
Step 4. TXT record (name _seasonly-challenge.book): Click Add record.
Step 5. Set Type to TXT.
Step 6. In Name, type _seasonly-challenge.book.
Step 7. In Content, paste the value from Seasonly.
Step 8. Click Save.
Step 9. CNAME record (name book): If a record named book is already there, edit it instead of adding one.
Step 10. Click Add record.
Step 11. Set Type to CNAME.
Step 12. In Name, type book.
Step 13. In Target, paste the value from Seasonly.
Step 14. Set Proxy status to DNS only (grey cloud).
Step 15. Click Save.
Step 16. Bare domain: For the bare domain, use Name @. Cloudflare can also flatten a CNAME there, so either works.
Namecheap
Delete any URL Redirect Record with the same Host, or it wins.
Step 1. Sign in to Namecheap and open Domain List.
Step 2. Click Manage next to your domain.
Step 3. Open the Advanced DNS tab.
Step 4. TXT record (name _seasonly-challenge.book): Under Host Records, click Add New Record.
Step 5. Pick TXT Record.
Step 6. In Host, type _seasonly-challenge.book.
Step 7. In Value, paste the value from Seasonly.
Step 8. Click the green check mark to save.
Step 9. CNAME record (name book): If a record named book is already there, edit it instead of adding one.
Step 10. Under Host Records, click Add New Record.
Step 11. Pick CNAME Record.
Step 12. In Host, type book.
Step 13. In Value, paste the value from Seasonly.
Step 14. Click the green check mark to save.
Step 15. Bare domain: For the bare domain, use Host @. Namecheap also offers an ALIAS Record there.
Squarespace (was Google Domains)
Domains from Google Domains moved here. Sign in with the same Google account.
Step 1. Sign in to Squarespace and open Domains.
Step 2. Click your domain.
Step 3. Open DNS, then DNS Settings.
Step 4. TXT record (name _seasonly-challenge.book): Under Custom records, click Add record.
Step 5. Set Type to TXT.
Step 6. In Host, type _seasonly-challenge.book.
Step 7. In Data, paste the value from Seasonly.
Step 8. Click Save.
Step 9. CNAME record (name book): If a record named book is already there, edit it instead of adding one.
Step 10. Under Custom records, click Add record.
Step 11. Set Type to CNAME.
Step 12. In Host, type book.
Step 13. In Data, paste the value from Seasonly.
Step 14. Click Save.
Step 15. Bare domain: For the bare domain, use Host @. Delete any other A records for @ first.
Wix
Wix adds your domain to the Host name for you.
Step 1. Sign in to Wix and open Domains.
Step 2. Click ... next to your domain.
Step 3. Pick Manage DNS Records.
Step 4. TXT record (name _seasonly-challenge.book): In the TXT (Text) section, click + Add Record.
Step 5. In Host name, type _seasonly-challenge.book.
Step 6. In Value, paste the value from Seasonly.
Step 7. Click Save.
Step 8. CNAME record (name book): If a record named book is already there, edit it instead of adding one.
Step 9. In the CNAME (Aliases) section, click + Add Record.
Step 10. In Host name, type book.
Step 11. In Value, paste the value from Seasonly.
Step 12. Click Save.
Step 13. Bare domain: For the bare domain (@), edit the first record under A (Host) instead of adding one.
Any other provider
A few providers, like Amazon Route 53, want the full name instead of the short one.
Step 1. Sign in where your domain's DNS is managed. That is usually where you bought it.
Step 2. Find DNS, DNS records or Zone editor.
Step 3. TXT record (name _seasonly-challenge.book): Add a new TXT record.
Step 4. In Name or Host, type _seasonly-challenge.book.
Step 5. In Value, Target or Points to, paste the value from Seasonly.
Step 6. A few providers, like Amazon Route 53, want the full name: _seasonly-challenge.book.yourco.com.
Step 7. Save it.
Step 8. CNAME record (name book): If a record named book is already there, edit it instead of adding one.
Step 9. Add a new CNAME record.
Step 10. In Name or Host, type book.
Step 11. In Value, Target or Points to, paste the value from Seasonly.
Step 12. A few providers, like Amazon Route 53, want the full name: book.yourco.com.
Step 13. Save it.
Step 14. Bare domain: For the bare domain, use Name @, or leave Name empty if the box will not take @.
An address for one form or one campaign
The same steps, started from that form or campaign.
Step 1. For a form: open it on Forms, choose Put it on your website, and follow Your own web address.
Step 2. For a campaign: open it, open the campaign options menu and choose Use your own web address.
Take an address off
Your Seasonly address keeps working.
Step 1. Open the address from Settings, Domains and press Disconnect address.
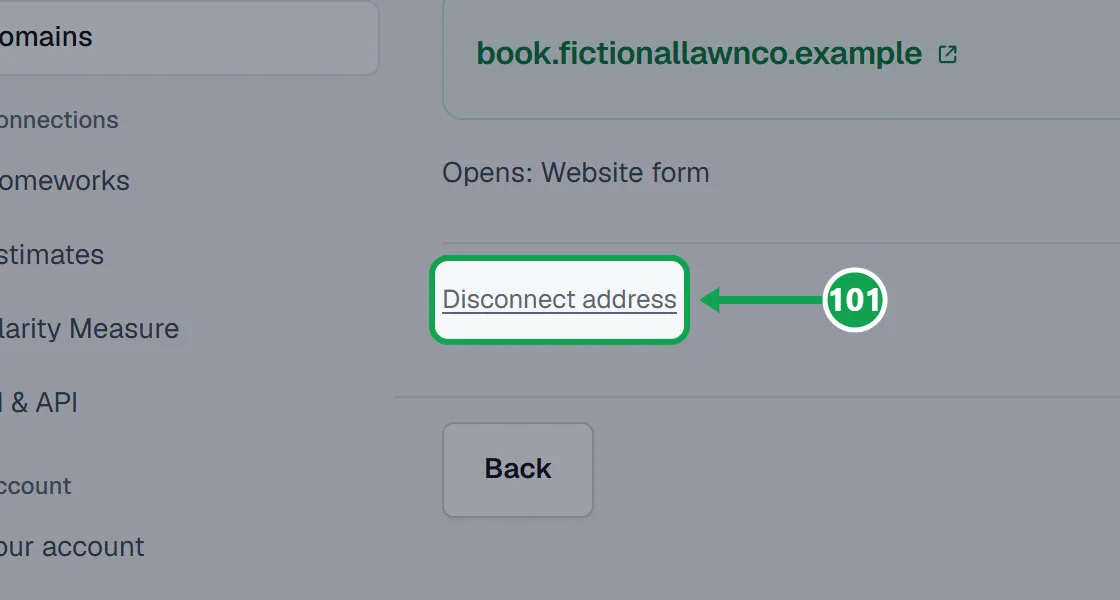
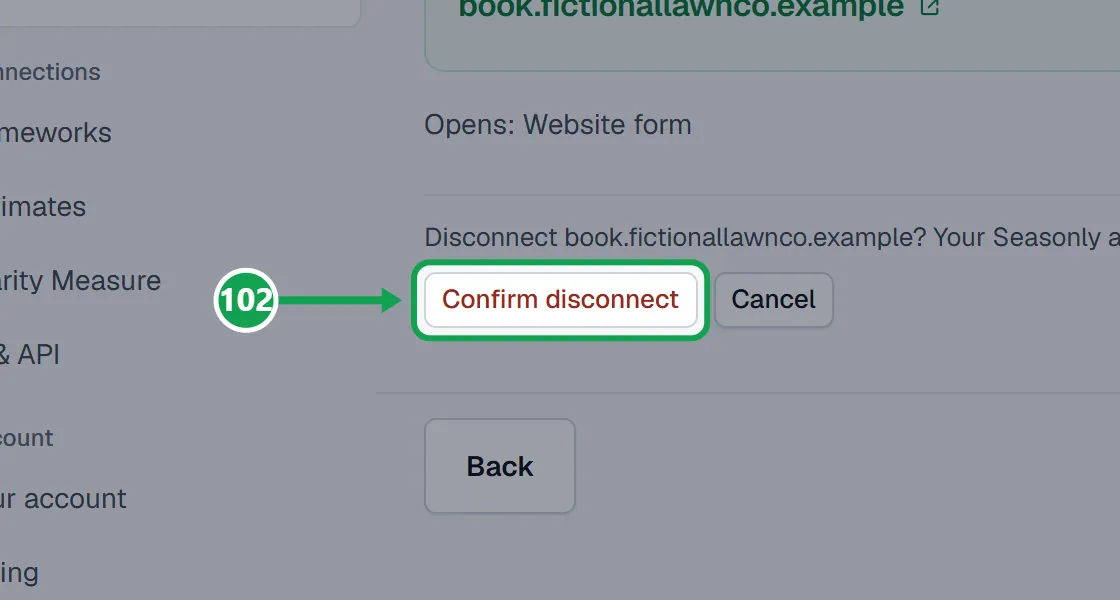
Step 2. Press Confirm disconnect. The form stops answering at that address straight away. Press Cancel to keep it.
If this, then that
- If it says Your address points somewhere else
- The address still points at your old website. Edit that record at your provider so its value is the one Seasonly shows.
- If it says Turn off Cloudflare's proxy
- In Cloudflare, set Proxy status to DNS only (grey cloud) on the address record.
- If the name at your provider came out as book.yourcompany.com.yourcompany.com
- Your provider adds the domain for you. Edit the record and type only the short name Seasonly shows, like book.
- If it has said Waiting for your records for over an hour
- Check each name and value for typos or extra spaces, and that you added them where your DNS is managed.
- If it says This claim ran out
- Press Start over and add the address again. You get a new TXT value.
Good to know
- Custom domains are part of Premium. On Free, an address you already connected keeps working; a new one needs Premium.
- Add the records where your domain's DNS is managed. That is not always where you bought it.
- The TXT record proves the address is yours. It is only needed until Seasonly has seen it once.
- An address not proven within 7 days is released. Add it again to get a new TXT value.
- You can have 5 of your own addresses at a time, counting forms and campaigns. It needs an active subscription.
- Only the owner can add or take off an address.